Celebrating Your Unique Style: Turn Your Favorite Images into Personalized Posters
Jun
Hello, dear reader! Today, I want to share a personal anecdote that merges two of my passions: fashion and family. My kid expressed a desire to create a giant Mario picture for his room. This sparked an idea in my mind, why not turn this into a fun DIY project that not only fosters creativity but also personalizes our living spaces? So, here I am, sharing with you how you can turn any picture into a poster – a way to infuse your unique style into your surroundings.
Primary Keyword: Personalized Posters
Secondary Keywords: DIY project, Unique Style, Living Spaces
Embrace Your Unique Style with Personalized Posters
We all have favorite images, be it album covers, movie posters, or art prints that resonate with us. These pieces often reflect our unique style and personality. For me and my kid, it was all about the charm of the iconic Mario. With a few simple steps, you can turn these images into personalized posters, making your living spaces a true reflection of you.
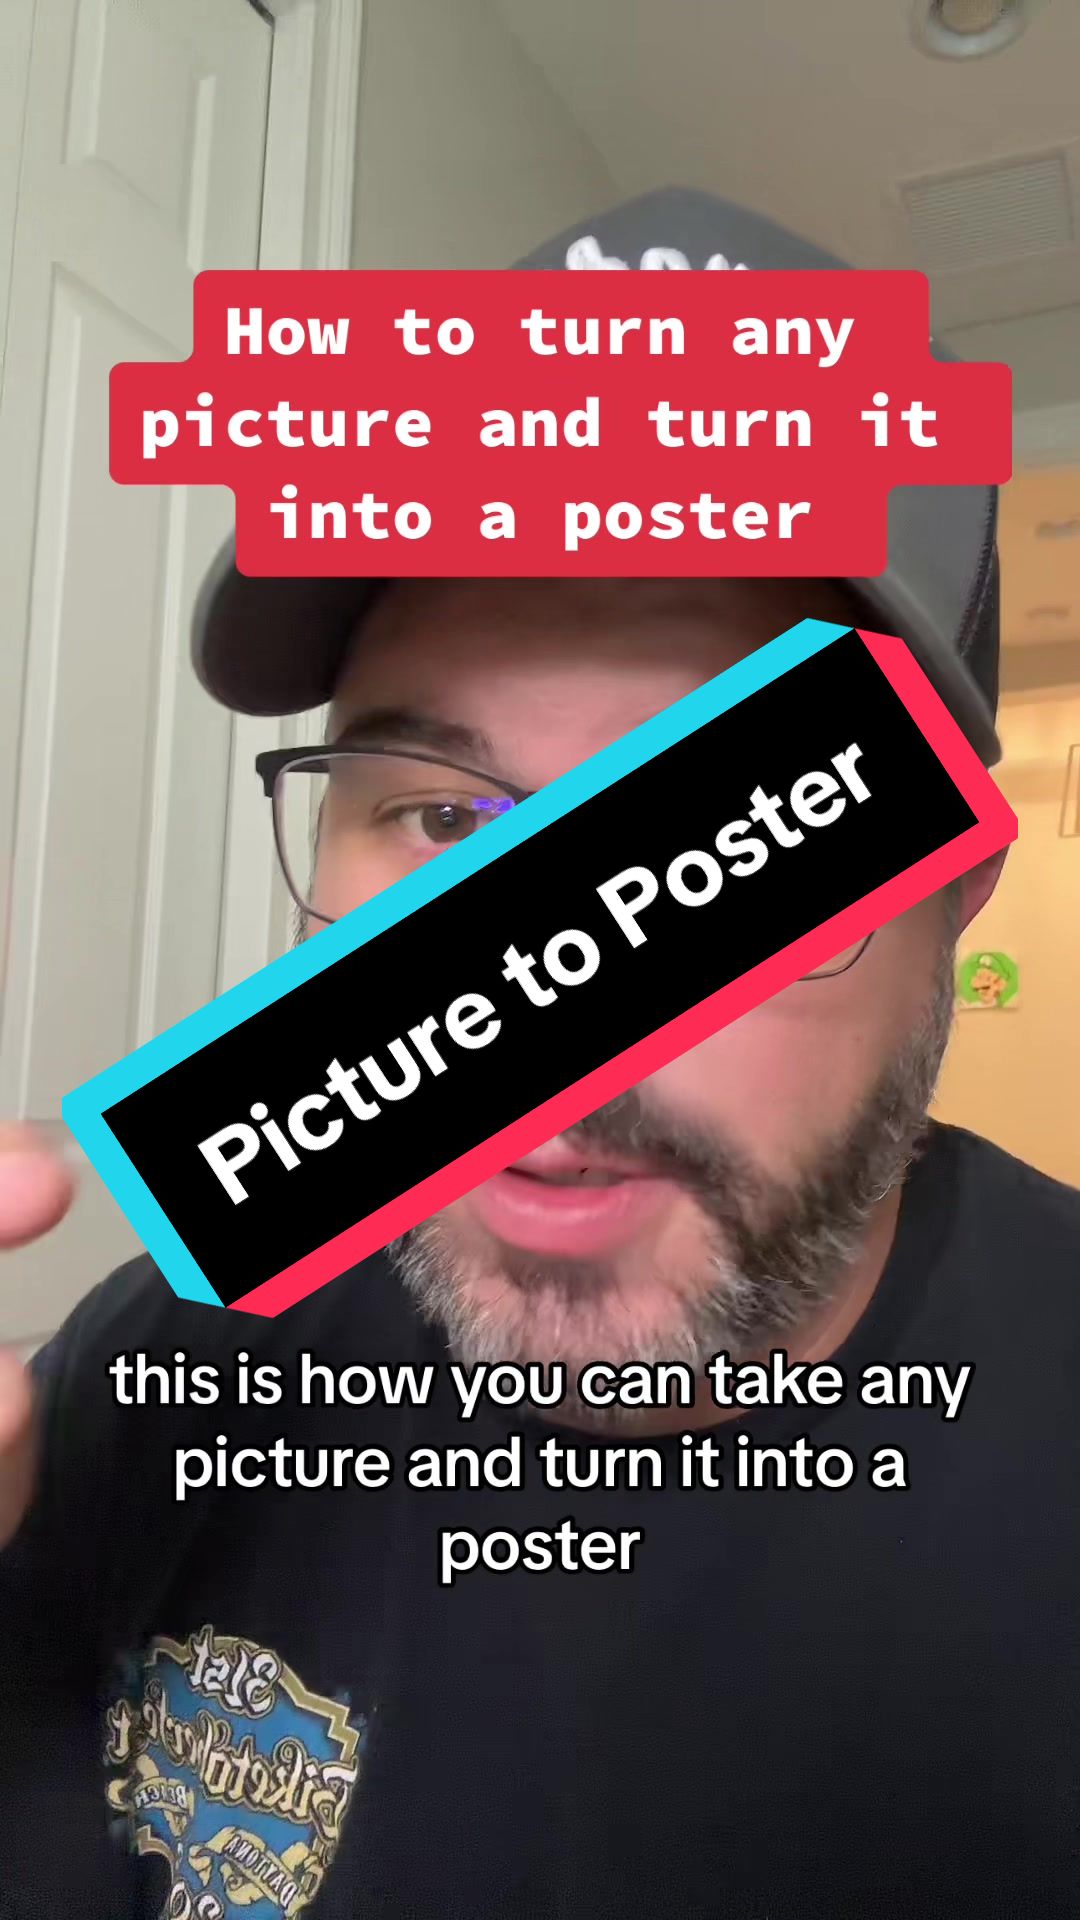
Step 1: Choosing the Image
Start by selecting an image that speaks to you. Perhaps it’s the vibrant color palette of Kendrick Lamar’s GNX album art or the elegance of Taylor Swift’s ‘The Tortured Poet’s Department’. Once you’ve found your perfect image, right-click and save it on your computer.
Step 2: Insert the Image into Excel
Open Excel and click on ‘Insert Picture’ under the ‘Insert’ tab. Locate the saved image and insert it into the spreadsheet. Adjust the size and position of the image as per your preference.
Step 3: Set the Page Break Preview
Click on ‘View’ and select ‘Page Break Preview’. You’ll notice a blue line around the image. This line indicates how many pages the image will cover when printed. You can adjust this line to make the image cover as many pages as you want.
Step 4: Print the Image
After adjusting the image, it’s time to print. The image will now be split across multiple pages. Print these pages, and voila! You now have your very own personalized poster.
Adding a Personal Touch to Your Living Spaces
Personalized posters not only add a touch of your unique style to your living spaces but also are a fun and engaging DIY project. Once printed, you can color the images, adding another layer of personalization.
For my kid and me, the Mario picture became a fun coloring project. The result? A vibrant Mario poster that turned a blank wall into a colorful corner. The joy on my kid’s face? Priceless.
Conclusion
In the world of fashion and style, it’s all about expressing your unique self. Personalized posters offer just that – a chance to turn everyday images into artwork that reflects your personality. Whether it’s a Billie Eilish album cover or a Morgan Wallen poster, the possibilities are endless.
So, go ahead, celebrate your unique style, and let your living spaces tell your story. After all, fashion is not just about the clothes we wear; it’s also about the spaces we inhabit.
my kid has been telling me that he wants to make a giant Mario picture for his room this is how you can take any picture and turn it into a poster I just went to Google and type in Mario coloring pages scroll down found this one looks good right click save image as we’ll just save that then we just open Excel and we click insert Picture place over cells picture from file oh look there’s the one we just picked and then bring him in bring him up to the corner now if you hit view and you hit page break preview you see how it’s got this blue line around it now if you drag that blue line you can see that we now have 1 two three four five six pages we can make this really big and we can make Mario take up multiple pages so if we printed this right now Mario would take up nine pages move Mario back we’ll kinda center him up just a little bit now let’s print and see what happens see how the image is now broken across multiple pages print okay let me show you what this looks like right now it looks like this but I’m gonna fold and paste the edges there we go now my kids can color itvideo